MATLAB Command Line
Click to copy the following command line to the clipboard. Then paste it in the MATLAB Command Window:
quarc_visualization_x_ray_demoQUARC Visualization X-Ray
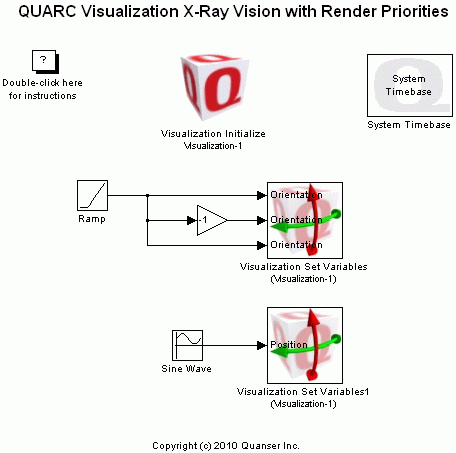
This is an example of using the render priorities in an unusual order in the Visualization Initialize block to create an x-ray effect. From the initial view of the model, the actors will be rendered in the following order:
Normally the teapot would be rendered before magnifying glass so that you would look through the transparent magnifying glass to see the teapot in behind. By setting the teapot to a render priority of -1, it is forced to be rendered after the magnifying glass. However, the depth buffer will have already registered the magnifying glass pixels, therefore, no pixels will be drawn behind it such as the teapot which allows you to look through it. Nothing is obscuring the view of the teapot in the depth buffer around the magnifying glass though, so you can still see the teapot around the magnifying glass. If you are not convinced that you are looking through the teapot, use the A, S, W, D keys and mouse to navigate around the scene. If you move the camera just inside of the teapot, then you will see the rotating gears there.
You could use this same idea to create a flashlight highlighting a scene. If you were to place a black plane that was semi-transparent in front of the camera, it would darken the scene. Using an almost fully transparent "circle of light" mesh closer to the camera, but with a higher render priority would create a hole in the screen of darkness allowing you to highlight part of the fully lit scene in behind. (Note you do not want to set the alpha right to zero or that will disable rendering of the mesh and the effect will be lost.)

Demonstration
To start the model, click the button on the toolbar, select from the menu of the diagram, or press Ctrl+T while the diagram is the active window. Using the A, S, D, and W keys on your keyboard, you can move around the scene. Click-drag your mouse on the visualization window to rotate your view.
If you would like to run the model in external mode, then select from the menu of the diagram, or select from the simulation mode combo box on the toolbar.
Then select from the menu of the diagram, or press Ctrl+B while the diagram is the active window. A great deal of output will appear in the Diagnostic Viewer about the progress of the build. If you cannot see the Diagnostic Viewer, you can open it by selecting from the menu of the diagram, or clicking on the View Diagnostics hyperlink at the bottom of the diagram. If you have MATLAB R2013b or earlier then the output will appear in the MATLAB Command Window.
When the build is complete, click on the button or select from the menu of the diagram to connect to the model. This will load the code on the target and automatically open the visualization window on the host.
Finally, start the model by clicking on the button or selecting from the menu of the diagram. The item of the menu may also be used to both connect and start the model in one operation.
Click on the button or select from the menu of the diagram to stop the model. The item of the menu may also be used.
Running the example on a different target
To run the example on a different target, refer to the instructions on the Running QUARC Examples on Remote Targets page.
Copyright ©2025 Quanser Inc. This page was generated 2025-11-01. Submit feedback to Quanser about this page.
Link to this page.