

Installing RCP on the NI myRIO
Once the Quanser Rapid Control Prototyping (RCP) Toolkit is installed, there are no special configuration steps to get it to work in LabVIEW for Windows. It should work "out-of-the-box".
To use the RCP Toolkit with the NI myRIO, the RCP Toolkit must be installed on the myRIO. Fortunately, installation is relatively straightforward and may be done through the Measurement & Automation Explorer (MAX). After installing the RCP Toolkit on Windows, turn on the NI myRIO and open Measurement & Automation Explorer (MAX) to install the RCP Toolkit on the myRIO as follows:
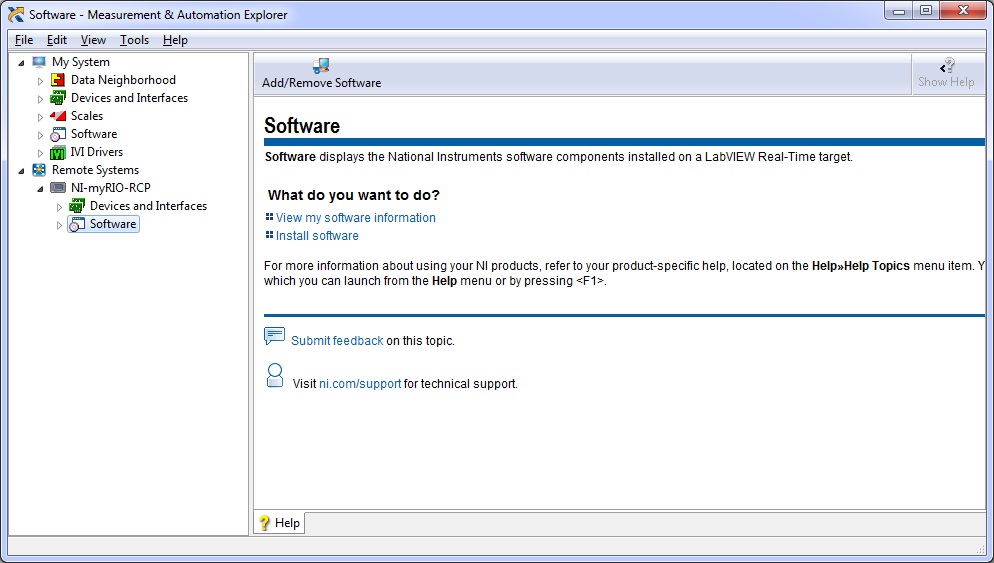
Click on the Add/Remove Software button. A login window will open.
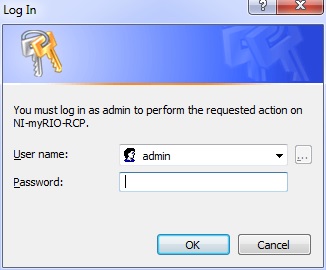
Use the login information from your myRIO manual to proceed, and the LabVIEW Real-Time Software Wizard shown below will open:
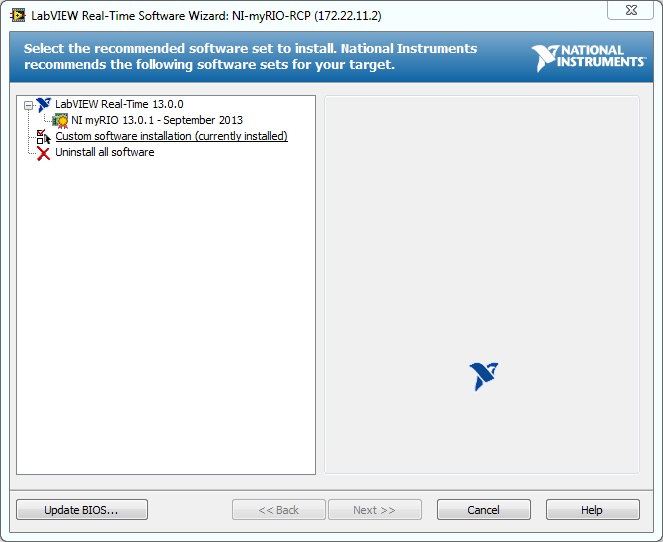
Select Custom software installation (currently installed) and then click Next>>. The warning dialog below will appear:
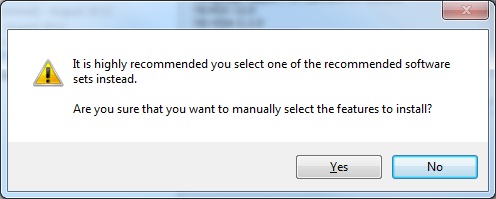
Click Yes to ignore the warning. A list of the selected and unselected features will be displayed:
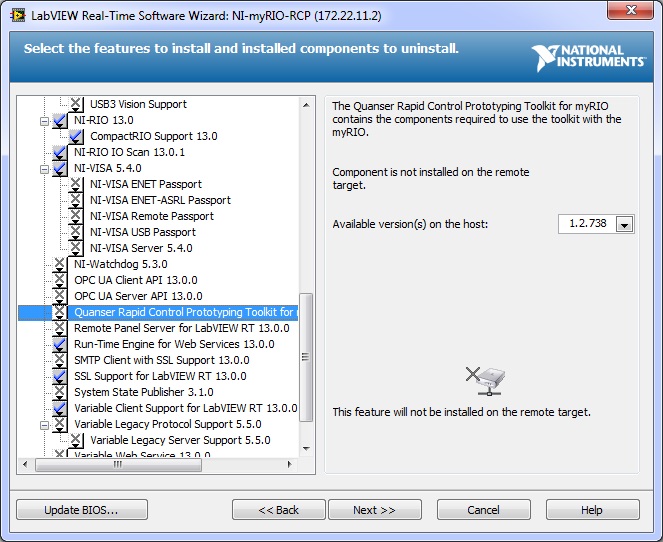
Select Quanser Rapid Control Prototyping Toolkit for myRIO from the list. Click on the X beside it and choose Install the feature:
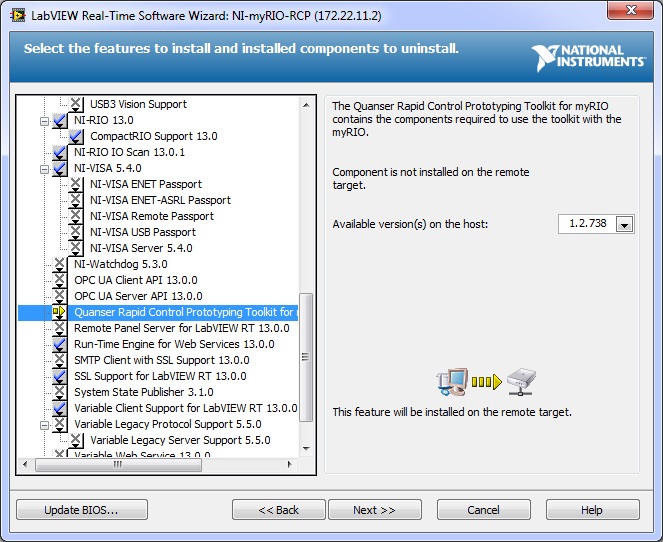
Click Next >>. The items selected will be shown in the next dialog:
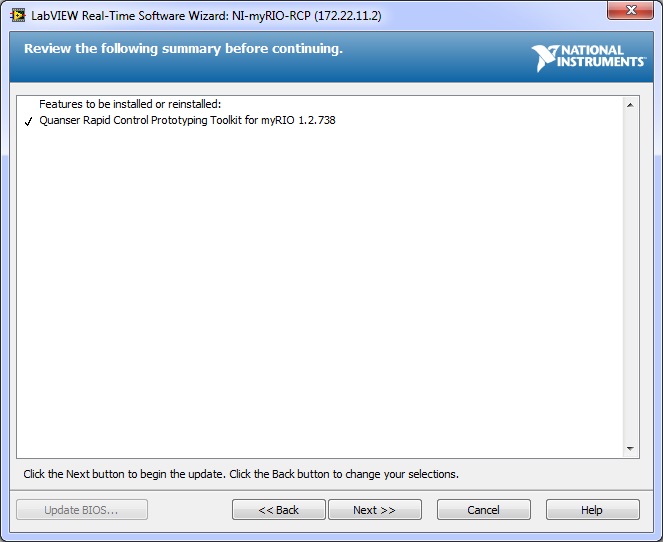
Click Next >>. MAX will begin to install the Quanser RCP Toolkit components to the NI myRIO.
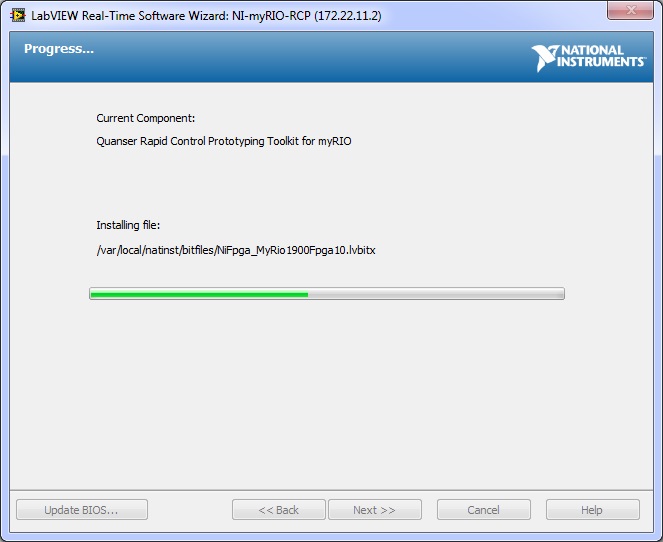
When the installation is complete it will display the message below:
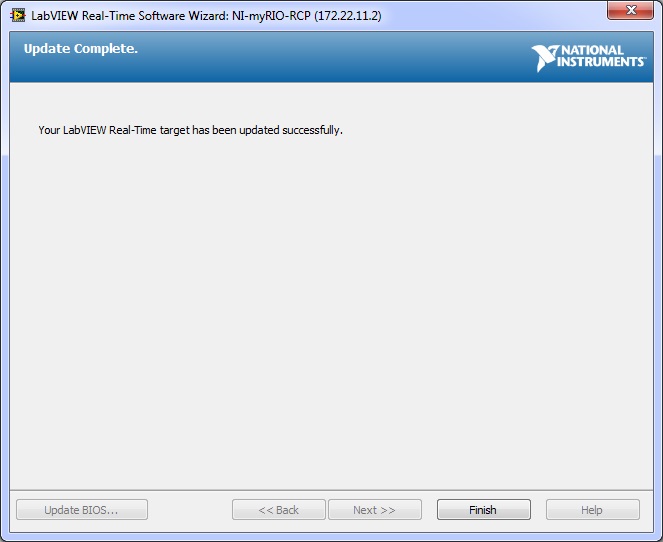
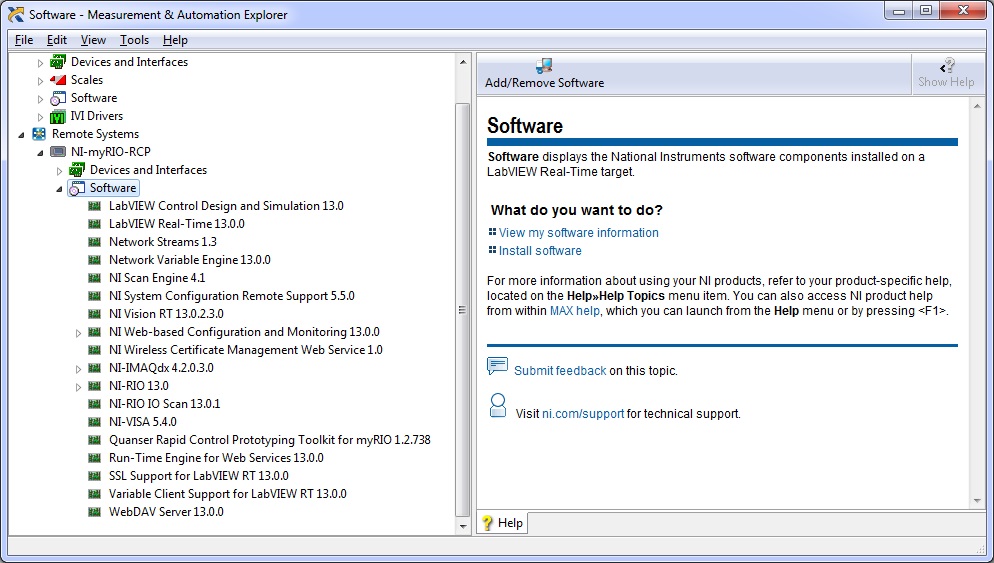
Click Finish to exit the LabVIEW Real-Time Software Wizard. You should now see the RCP Toolkit in the list of software:

Copyright © Quanser Inc. This page was generated 2021-09-24. Submit feedback to Quanser about this page.
Link to this page.