
Creating Your First Visualization Part IV - Selective Inheritance
Part II and Part III looked at creating hierarchies of actors. In Part IV, we will examine the final element of hierarchies called selective inheritance. By default, changing the position, orientation, and/or scale of a child object will be relative to the frame of the parent, but by turning off selective inheritances, you can drive a child actor with some properties relative to the parent, and other properties relative to the world-space coordinate system. This will build on the model completed from Part II. To start from that point, you can open the model here MATLAB Command Line Click to copy the following command line to the clipboard. Then paste it in the MATLAB Command Window: qc_open_library('quarc_visualization_example_part_ii_demo') . If you would like to just see the end result of this section, you can open the model here MATLAB Command Line Click to copy the following command line to the clipboard. Then paste it in the MATLAB Command Window: qc_open_library('quarc_visualization_example_part_iv_demo') .
|
Note that Vista users will need to modify the default URI on the communications tab to |
The Skybox
A skybox is a visual trick to create a more realistic environment by providing a background that is infinitely far away. By mapping the appropriate texture on the inside of the box it can appear seamless. However, that illusion is only maintained as long as the camera stays perfectly centered in the middle of the box. This is a perfect candidate for making the skybox a child of the camera. The catch is that we still want to look around the world so we do not want the box to use the same orientation as the camera, just the position.
Let's start by "adding with actor" a skybox.x3d mesh from $(QUARC_DIR)/resources/meshes/environment/sky MATLAB Command Line Click to copy the following command line to the clipboard. Then paste it in the MATLAB Command Window: dos(sprintf('explorer.exe "%s" &', fullfile(qc_root, 'resources', 'meshes', 'environment', 'sky')));, and attach skybox_tropical.png from $(QUARC_DIR)/resources/images/environment/sky MATLAB Command Line Click to copy the following command line to the clipboard. Then paste it in the MATLAB Command Window: dos(sprintf('explorer.exe "%s" &', fullfile(qc_root, 'resources', 'images', 'environment', 'sky'))); to the object.skybox.
| You may notice some flickering of the canopy of the airplane. Edit the skybox actor and set the Render Priority to 10 (the details will be explained further in PartV). |
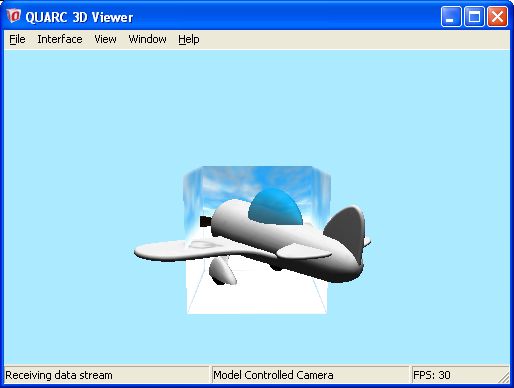
A skybox is basically just a box that has the faces oriented inward instead of outward. The normals have been removed from this x3d file so that the image will be fully lit regardless of what lights are in the scene (we could also fully light an object by setting the emissivity to 1, but removing the normals saves a step if you always want a particular mesh to be fully lit). You may notice that our "infinite" vista is rather small at the moment.
Open the Visualization Initialize block and go to the Actors tab. Edit the actor.skybox, set the Parent Actor to be actor.camera, and set the scale to be [1000 1000 1000].
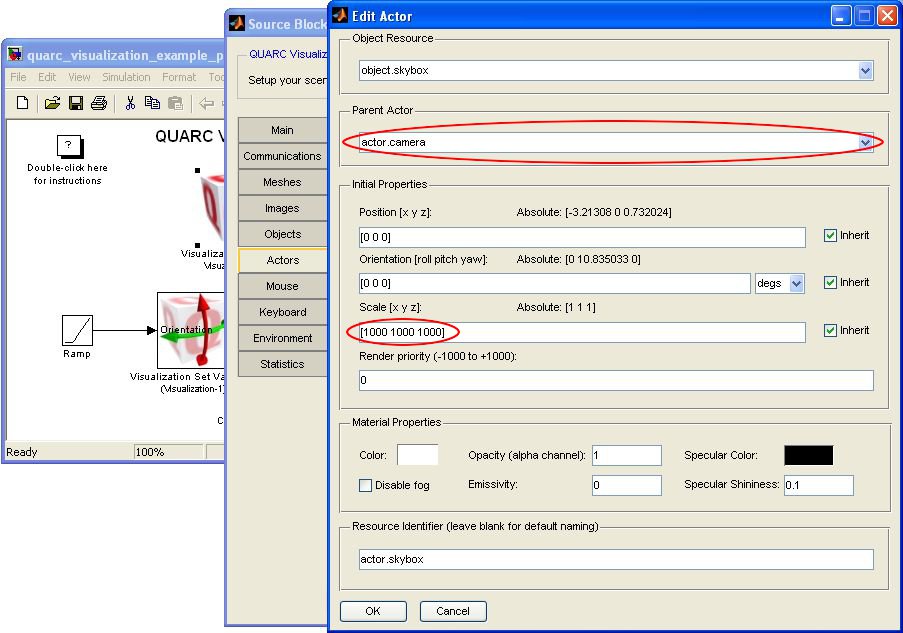
| With clipping planes, keep in mind that it is a radial distance from the camera position. In terms of the sky box, a scale of [1000 1000 1000] means that the furthest point on the skybox will be [500 500 500] or sqrt(3*500^2) = 866 which is well within the clipping plane. If you used a scale larger than [1155 1155 1155], you would start to notice the corners of the skybox being clipped off, and larger than [2000 2000 2000] would make the skybox disappear all together. |
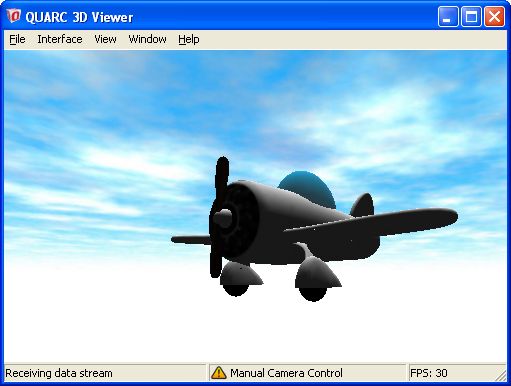
If you run your model, you will see a nice sky in behind the airplane now. If you use the A, S, W, D keys to translate around, you will notice that the sky position does not change, which is what we intended. If you use your mouse to click and drag the screen, you will see that the sky orientation does not change with respect to the camera, which is not what we intended. We have achieved getting the skybox to track the camera position, but not independently of the orientation.
Open the Actors tab of the Visualization Initialize block and edit the actor.skybox again. This time uncheck the Inherit Orientation parameter.
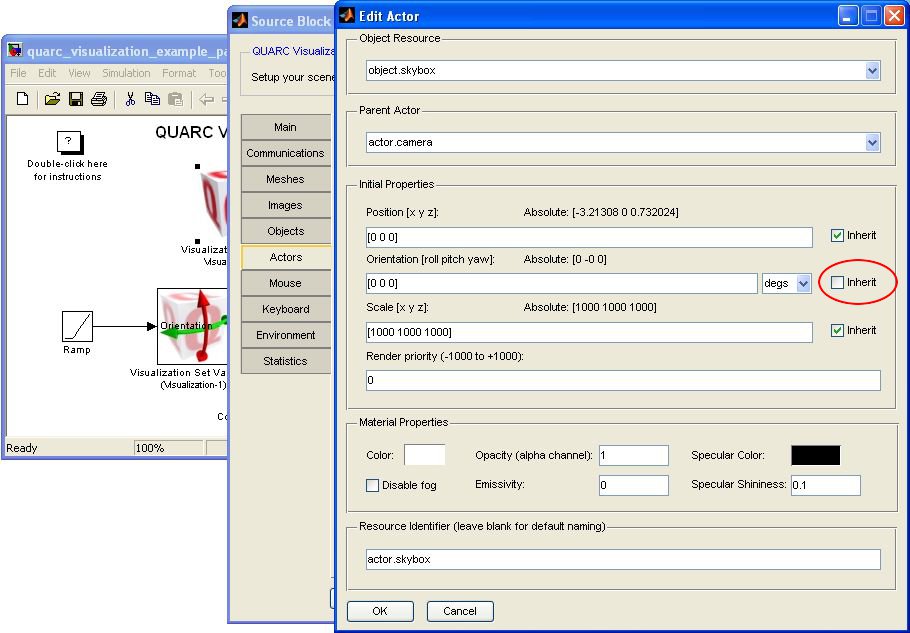
Close the dialog and run the model again. Now you will be able to look around the environment as well as translate without the illusion being destroyed. The skybox is following the translation and scale of the camera, but not the orientation. However, since there are no Set Variables blocks driving the orientation, it stays at [0 0 0].
Other Applications of Selective Inheritance
Orientation is probably the most common usage of selective inheritance. If you click the button on the Meshes tab, and use your mouse to click and drag, there is the appearance that you are orbiting around the mesh, but in fact the selected mesh and arrows in the lower left corner are children of the camera with the orientation not inherited. As the camera is moved around, the actors maintain a constant orientation. This same method could also be used to drive elements like a compass for a user interface.
Applying selective orientation to the elements of a robot arm can be used to drive the robot in world space instead of a joint space. However, keep in mind that this means you will have to drive all the orientations. Even a joint that has a single degree of freedom will need to have the other orientations specified to match parent actor's orientation. For a planar robot this would not be an issue, but for a robot that can move in all three dimensions, this may not be practical depending on the joint and robot configuration.
Selective translation and scale are a bit more specialized in their uses, but one such use is to emulate planar shadows. An example of this is covered in Visualization Shadows.
Advancing Further
Now that we have thoroughly examined the details of hierarchies for animation and kinematics, it is time to move onto the final topic. PartV will look at Transparency and Render Priority.
Copyright ©2026 Quanser Inc. This page was generated 2026-05-13. Submit feedback to Quanser about this page.
Link to this page.
